
[ad_1]
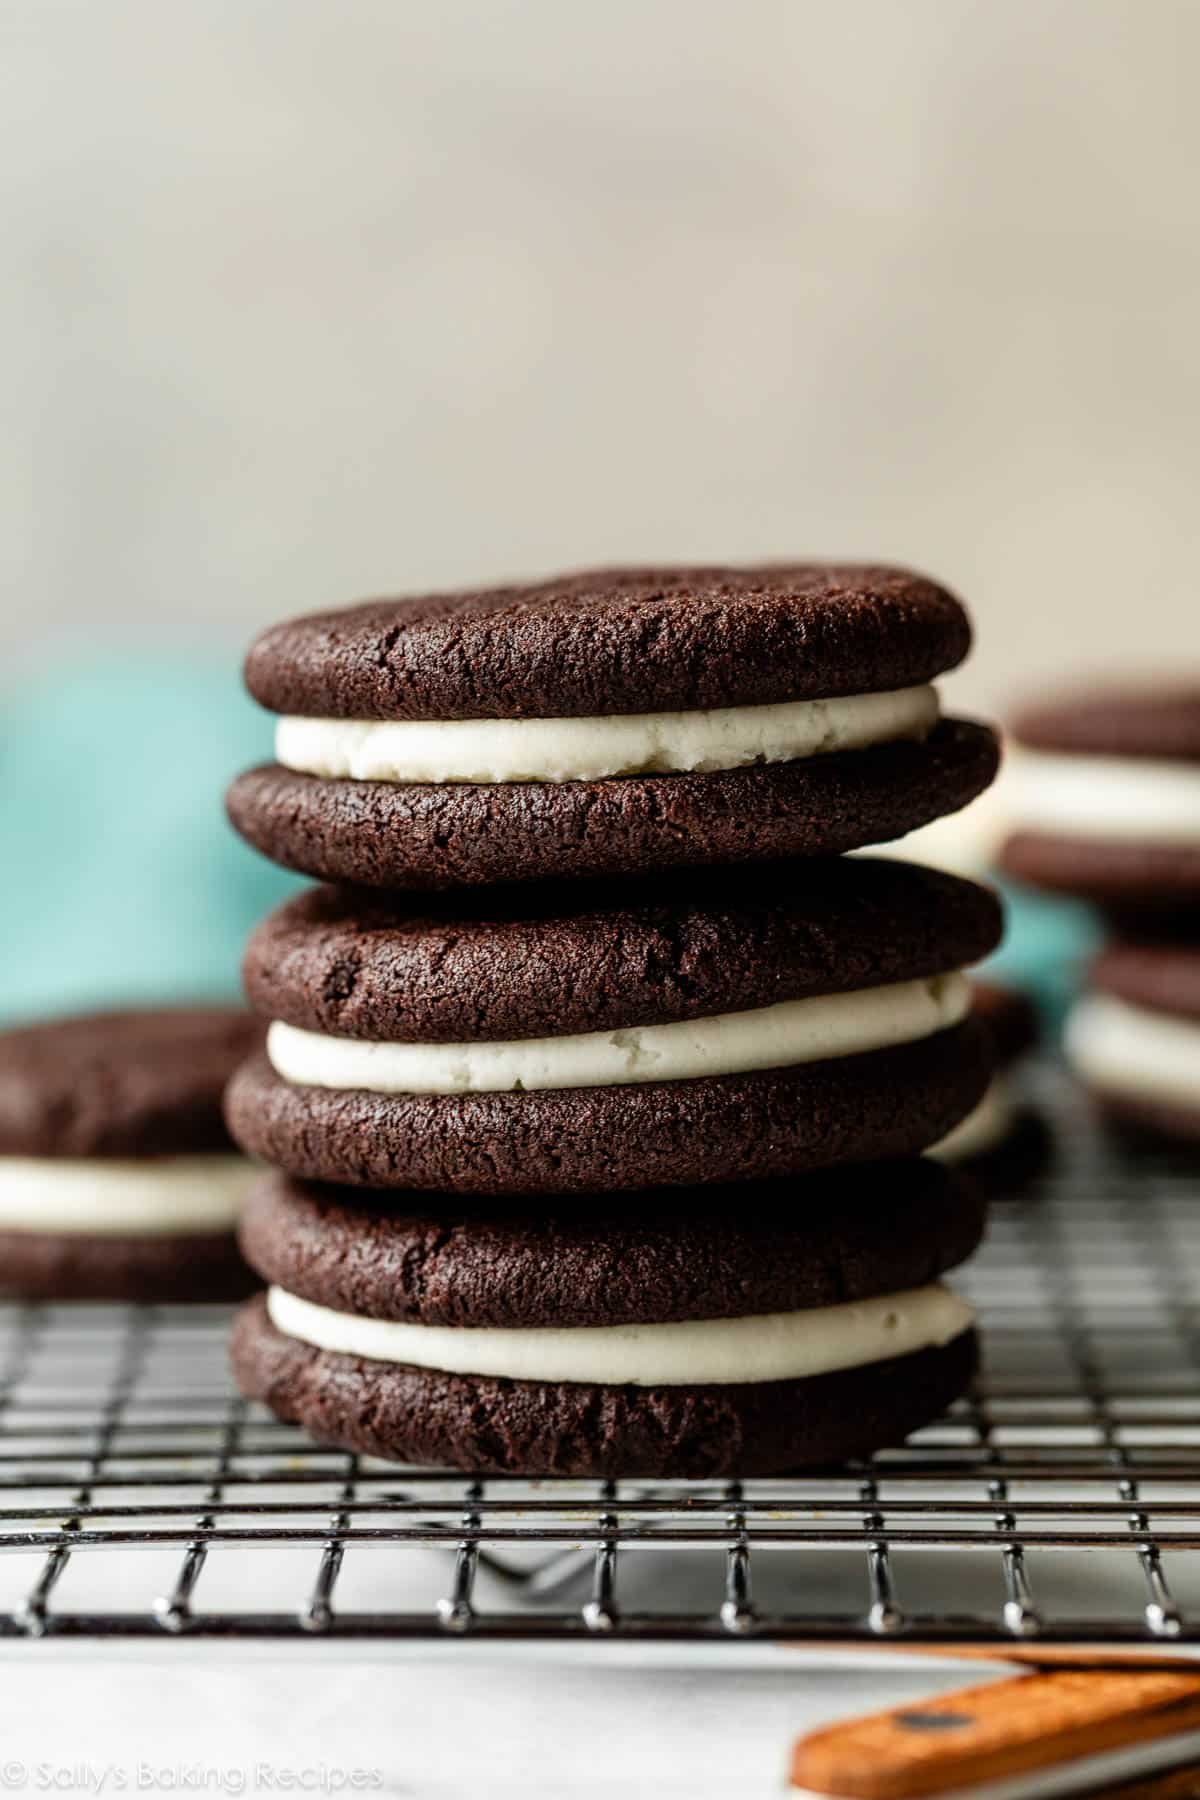
Do-it-yourself Oreos style identical to the traditional packaged cookies, however with a do-it-yourself contact. Darkish cocoa cookies are sandwiched with candy cream filling for a nostalgic style of Americana. With solely 10 minutes of dough-chilling time and no rolling pin required, making a batch of those iconic sandwich cookies from scratch is faster and simpler than you suppose!
I initially printed this recipe in 2013. The one change I’ve made through the years is lowering the nippiness time, so that they’re even faster now.
Arguably probably the most recognizable cookie on the planet, there’s one thing about Oreo cookies that brings out the child in everybody. From the traditional black-and-white sandwich cookie within the blue package deal, to the handfuls of taste variations accessible now, Oreos have securely held their place of honor on American grocery retailer cabinets for over a century. What could possibly be higher?
A fresh-baked do-it-yourself model, that’s what. 🙂
These Do-it-yourself Oreos Function:
- Comfortable, buttery, dense chocolate cookies
- Candy, thick cream filling
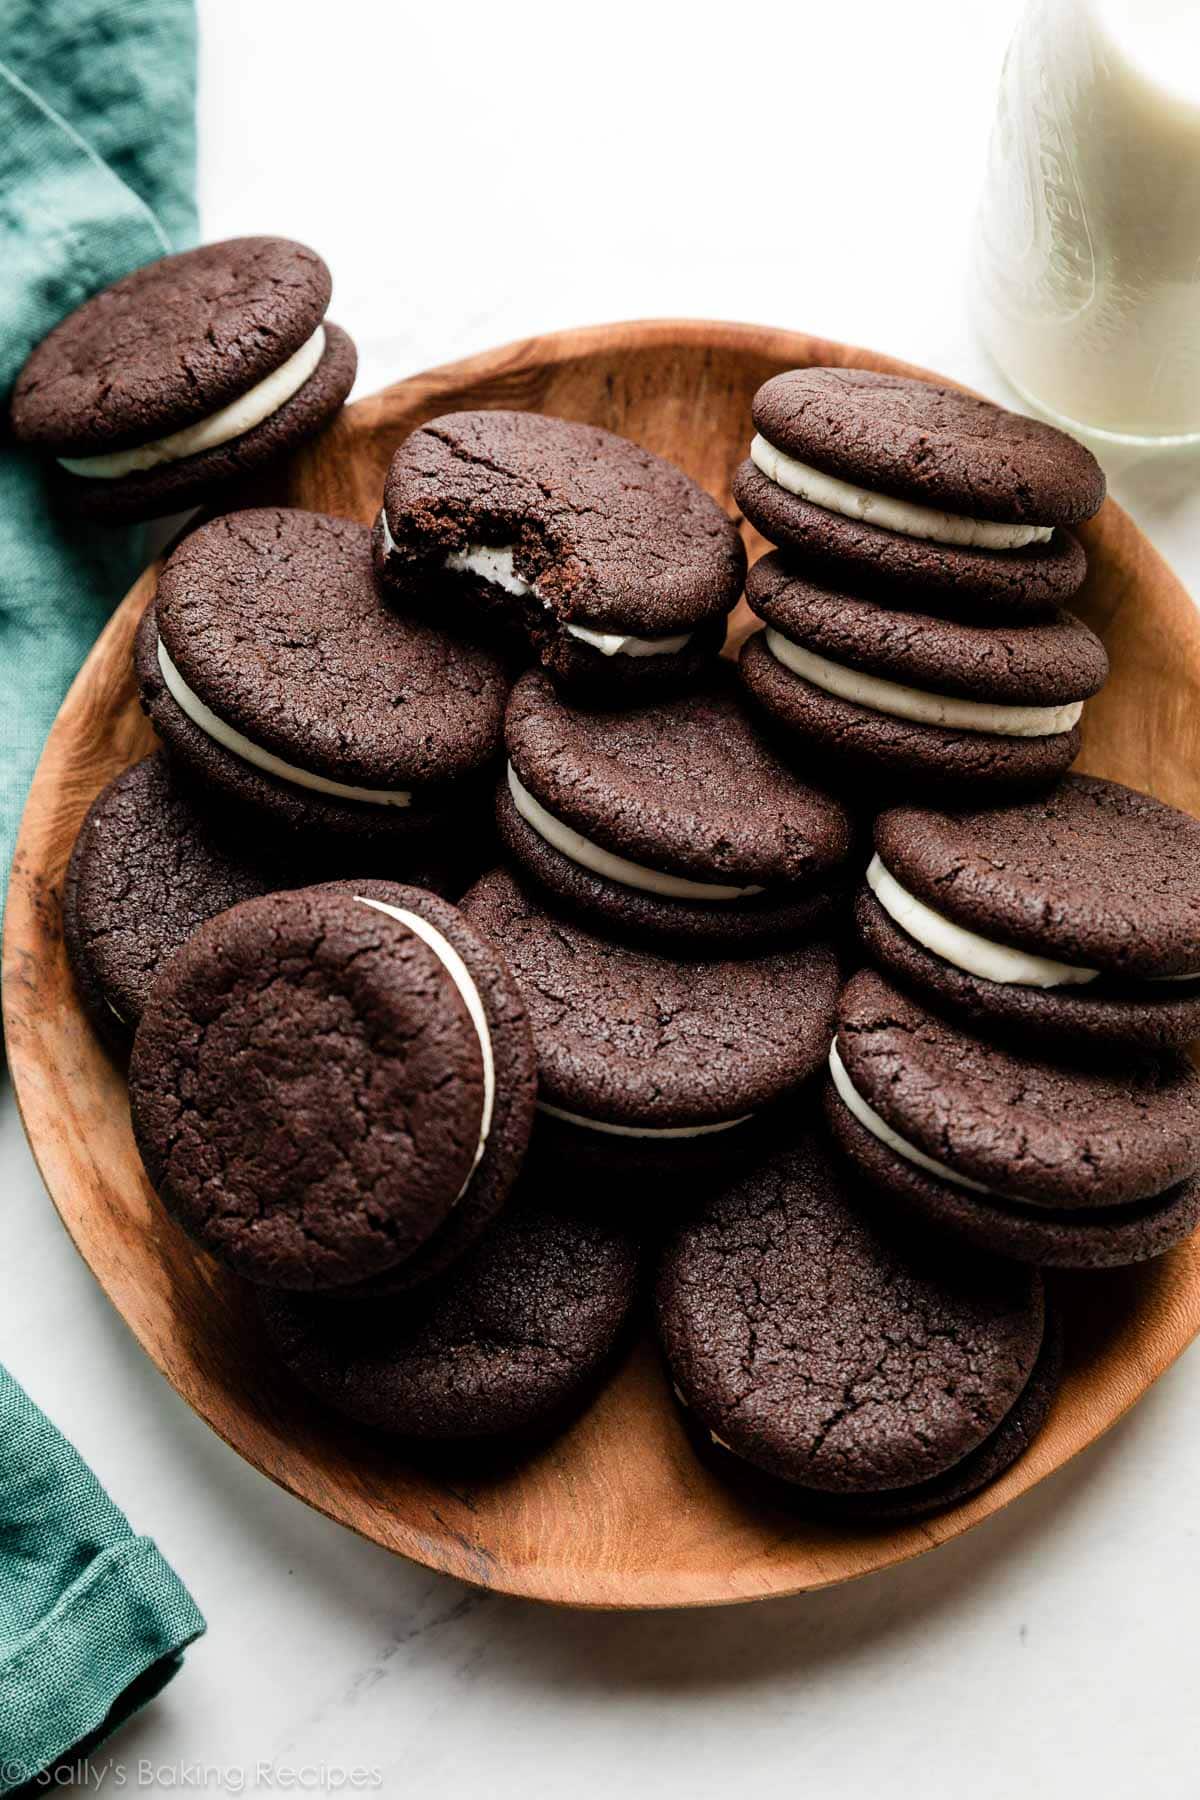
- The identical comfortingly acquainted taste as the unique
- A requirement for a glass of milk
Are They an Actual Copycat? No.
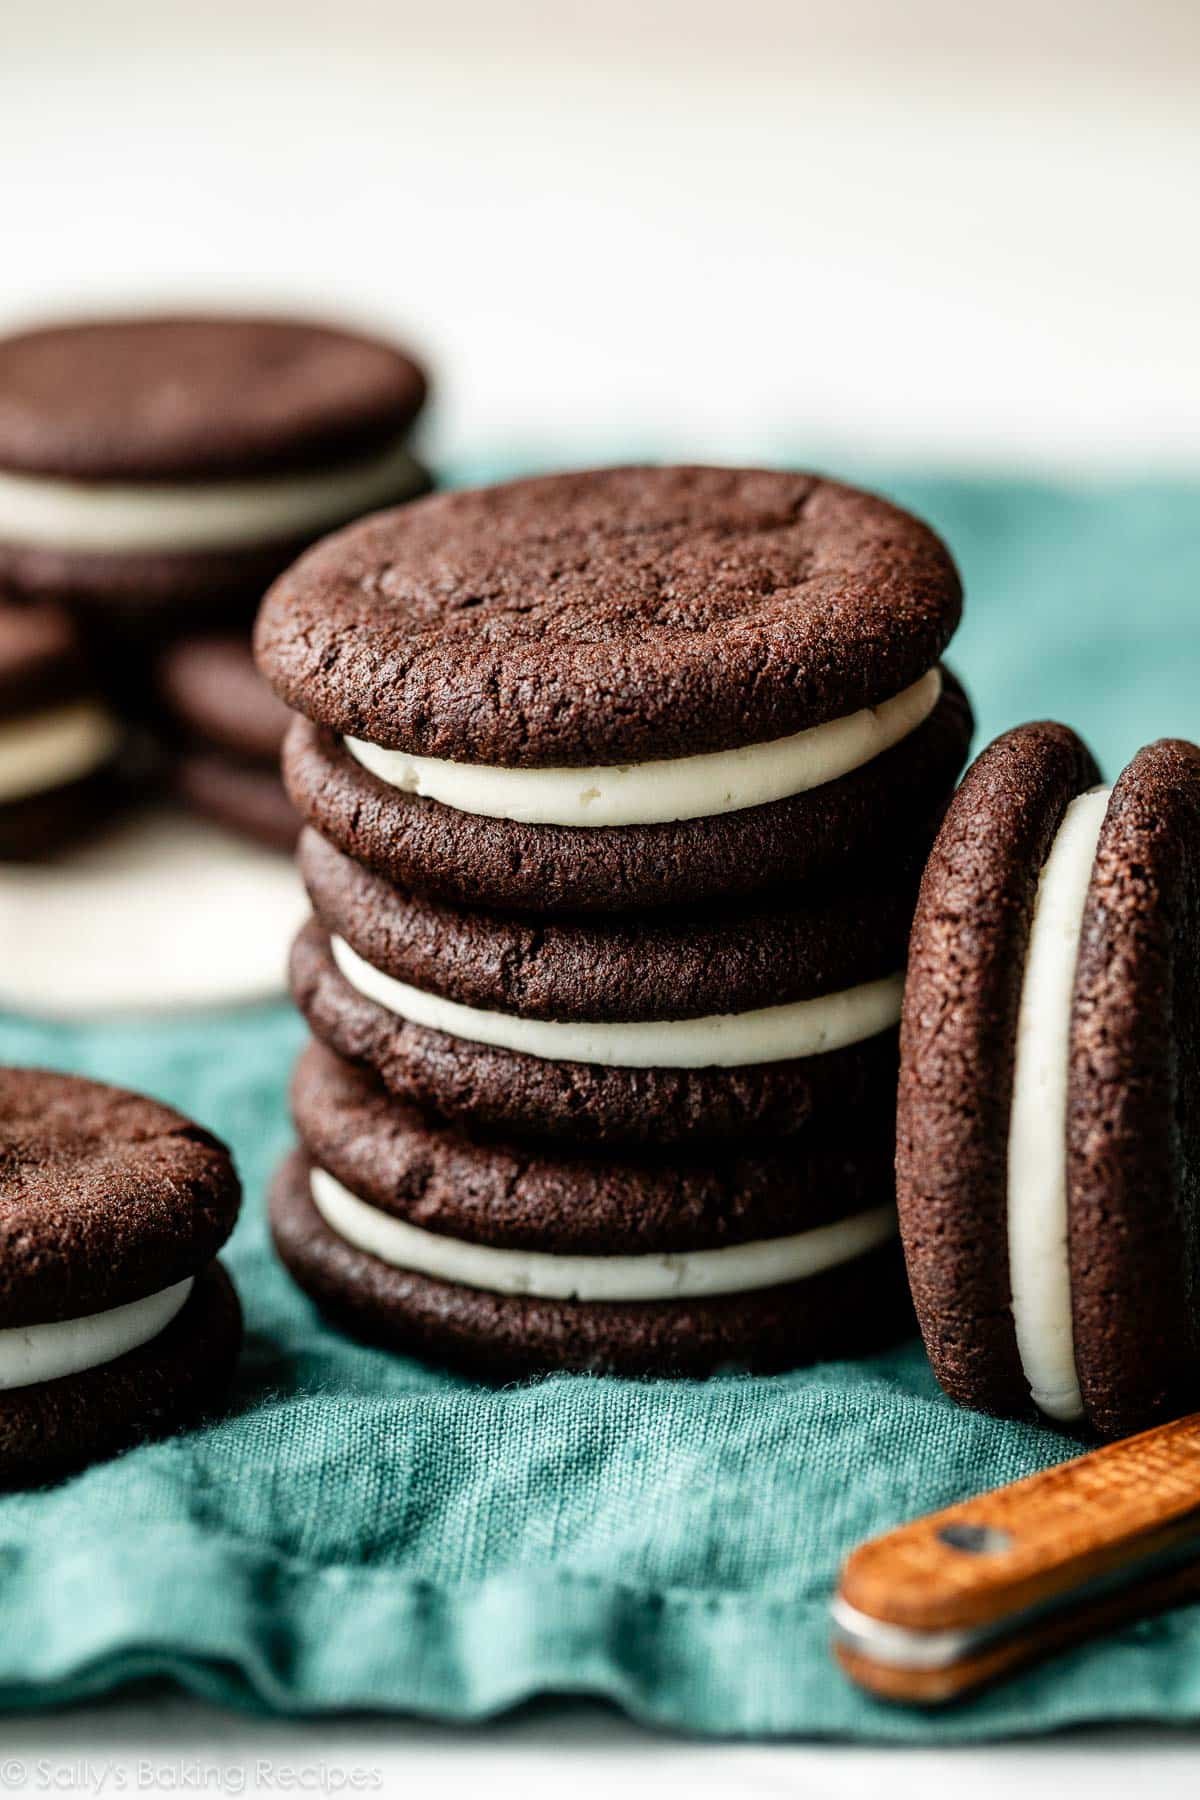
Whereas the flavour is all there, my do-it-yourself model is a contact softer than the store-bought variety. Don’t consider whoopie pies or something; they’re a lot crunchier and crispier than cake-style cookies. At the moment’s sandwich cookies nonetheless have a pleasant crunch on the perimeters. And if you happen to go away them frivolously lined in a single day, they develop a crunchier crust.
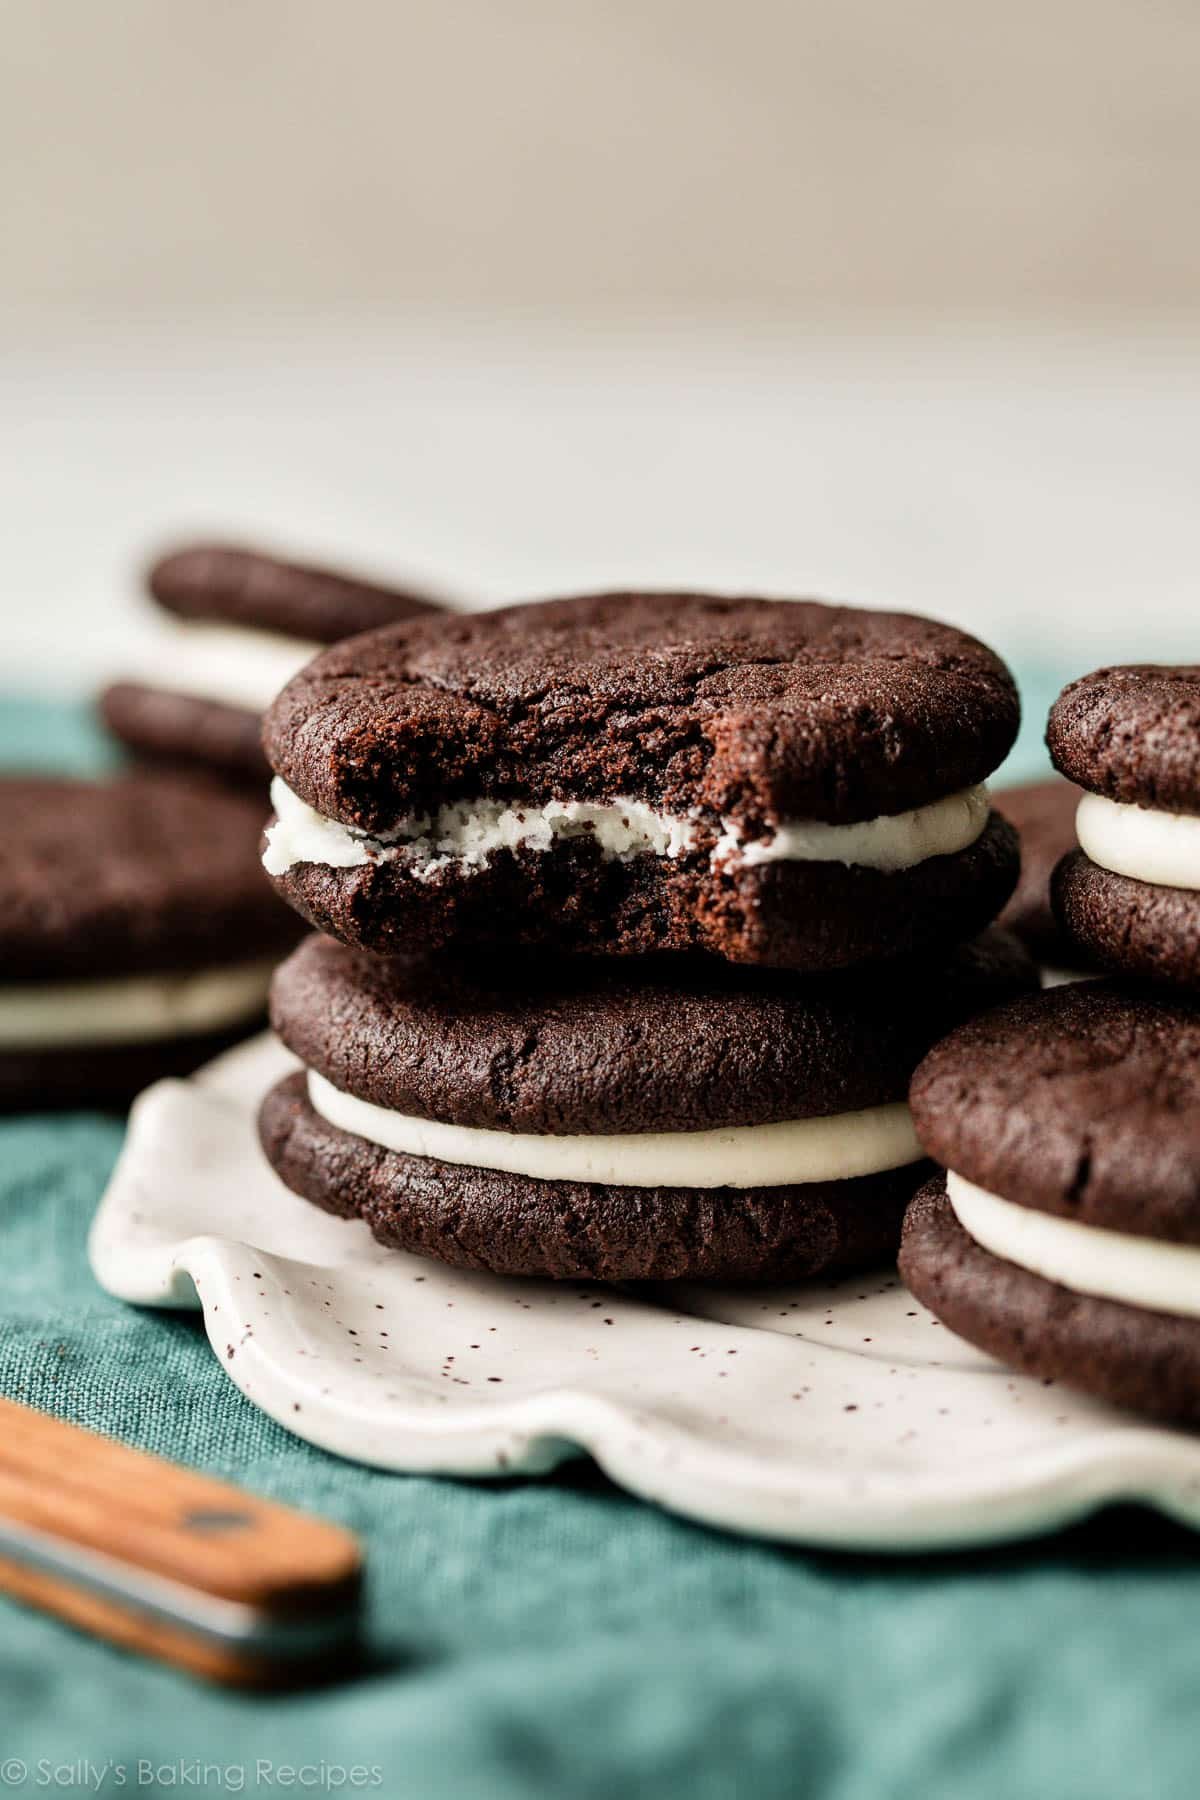
In addition they have a fresher-tasting taste, one thing you may actually solely obtain with a do-it-yourself dough and cream filling. The cream filling tastes extraordinarily just like the packaged cookies. It’s additionally good and thick, so it doesn’t actually spill out the perimeters while you chunk into the cookie.
One reader, Cyndi, commented: “I simply made these and they’re scrumptious! Manner higher than store-bought! I used black cocoa they usually even odor like Oreos! That distinct aroma! ★★★★★“
One reader, Kimberly, commented: “I made these at this time and the entire household cherished them! My son informed me to not lose this recipe. They’re just a little completely different than store-bought Oreos, however we preferred them higher! ★★★★★“
Make the Cookies First
The entire components required for this chocolatey cookie dough are primary baking staples. You want:
- Dry components: Flour, Dutch-process cocoa powder (extra on this beneath!), baking soda, and salt
- Moist components: Butter, white & brown sugars, egg, vanilla extract
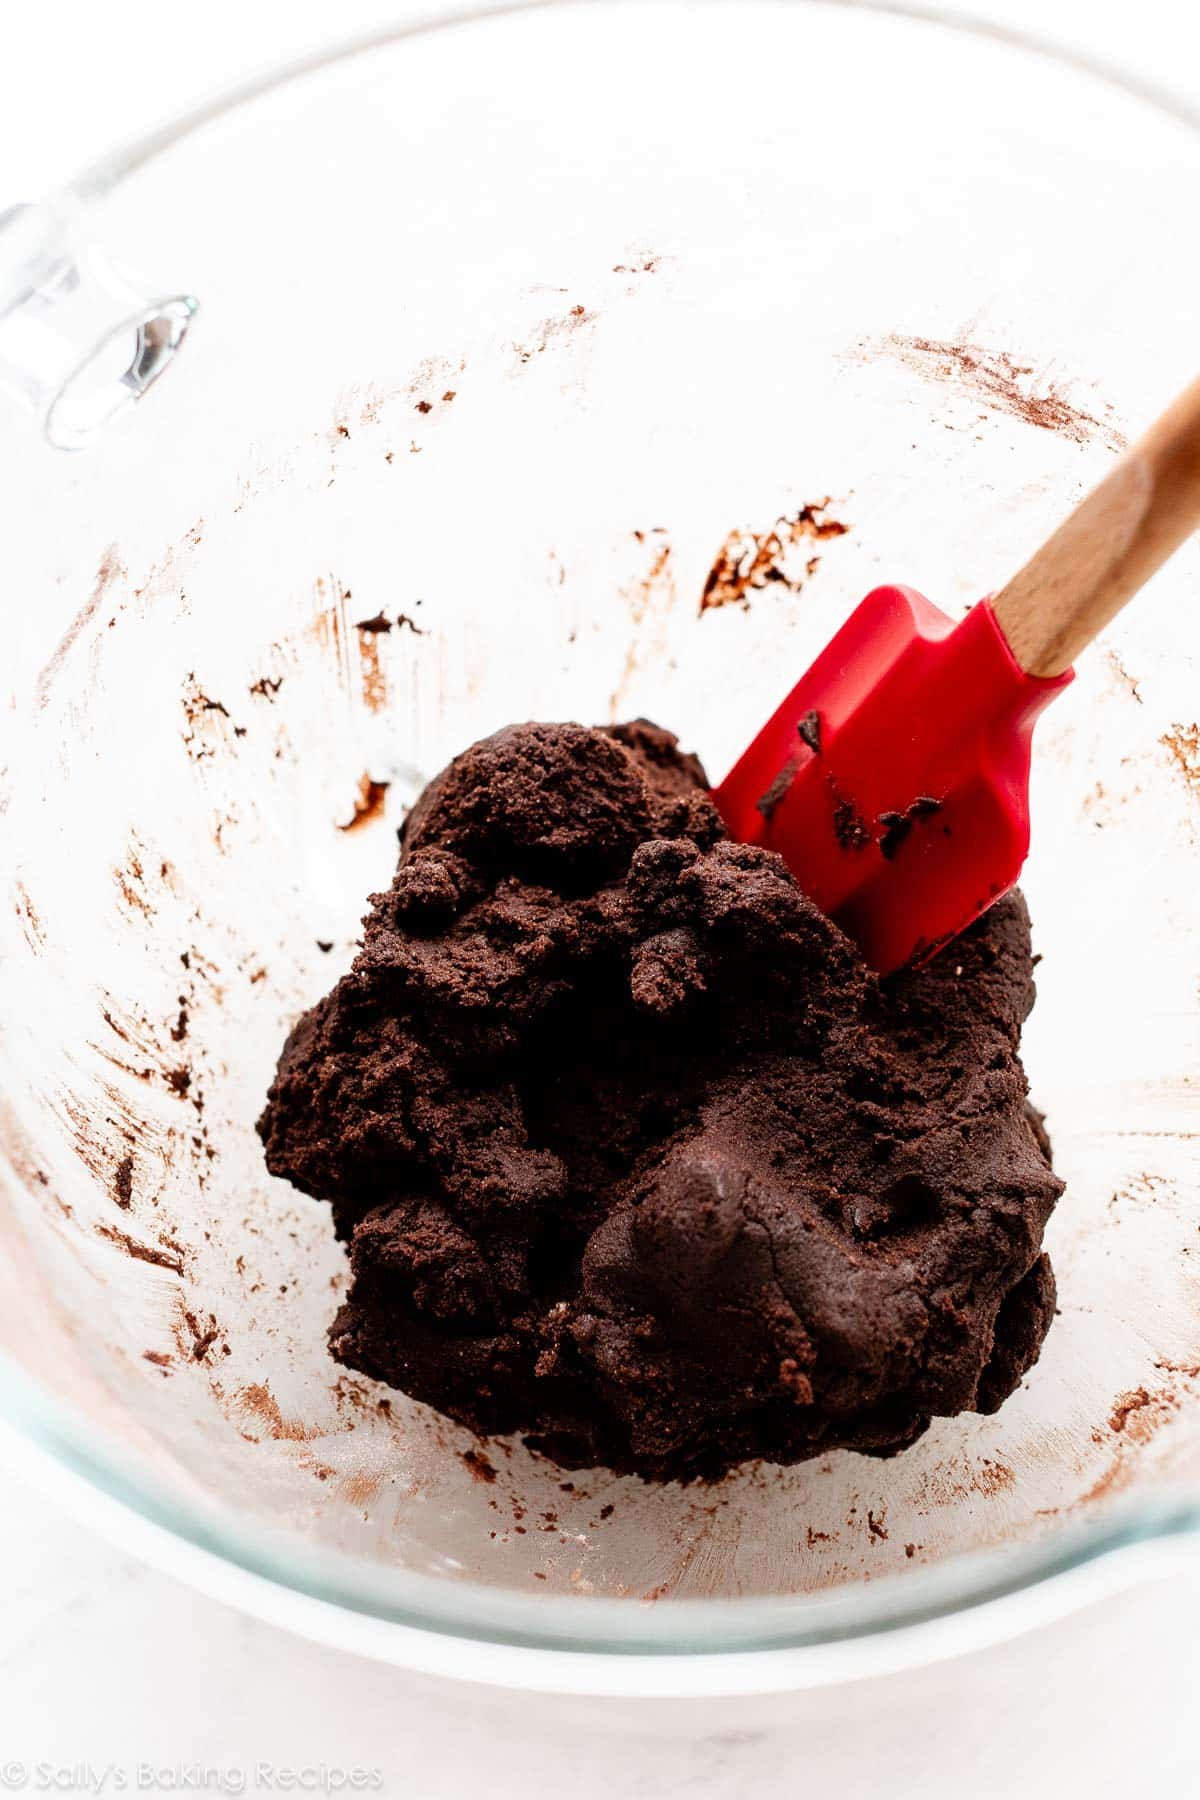
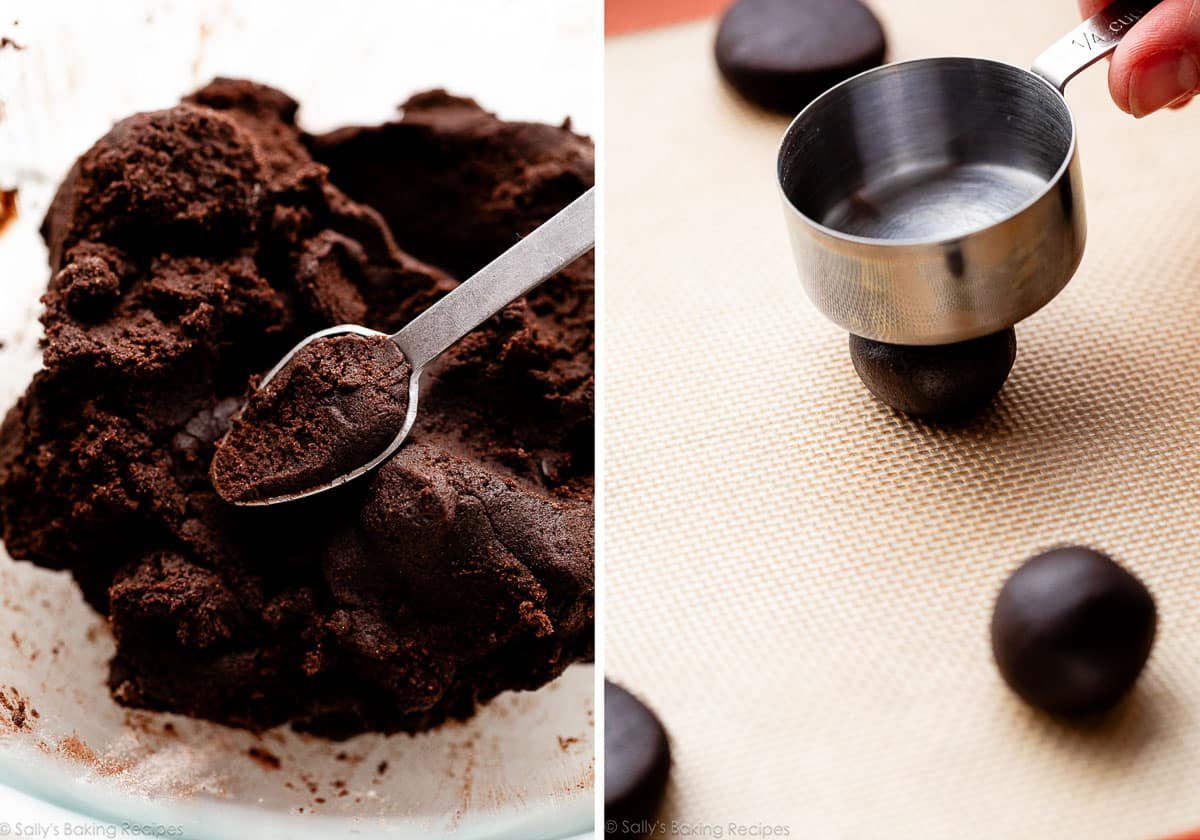
The cookie dough comes collectively shortly and simply with an electrical mixer. Not like many cookie recipes—corresponding to my favourite chocolate chip cookies—you don’t have to relax the dough for hours.
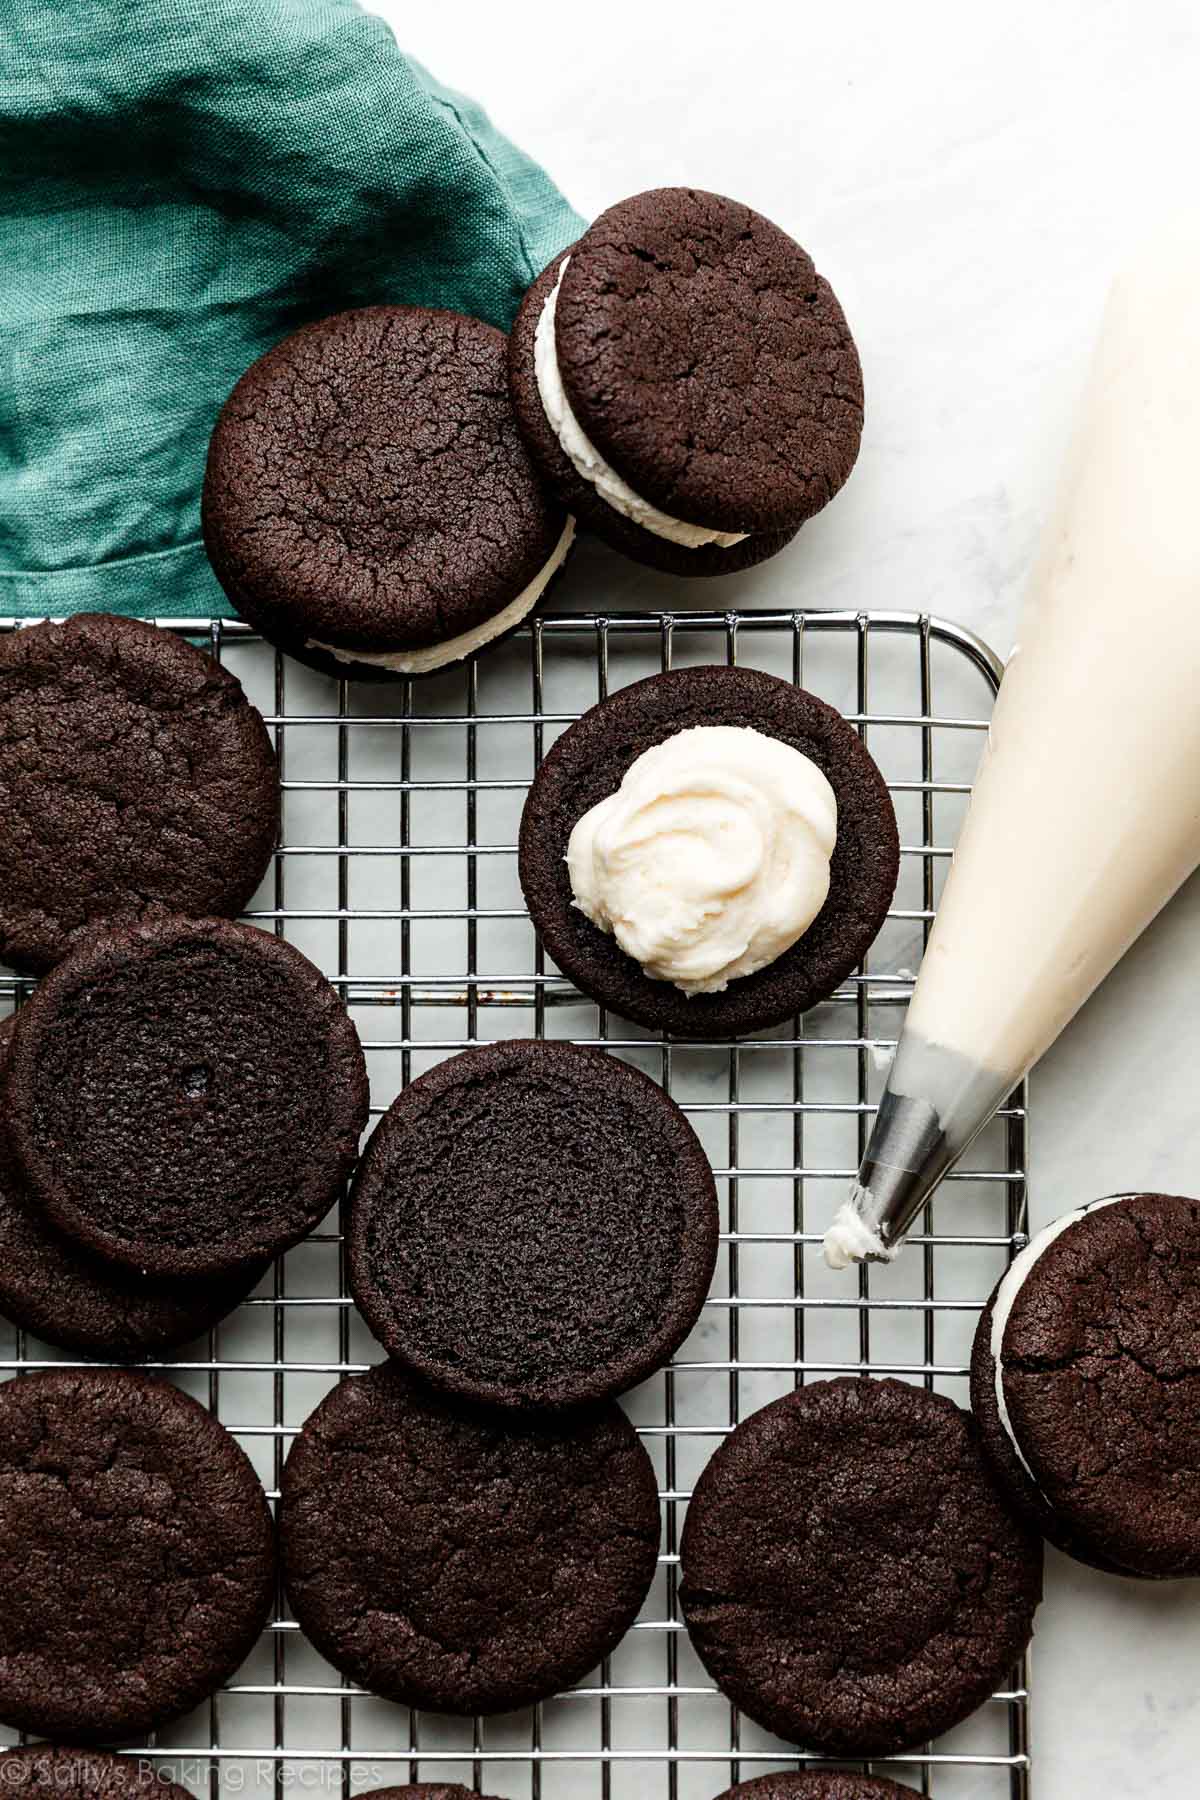
To form them, take a small piece of dough, nearly 2 teaspoons (13–15g every), and roll it right into a ball. Place the balls of dough onto a lined baking sheet. Flatten gently with the underside of a measuring cup. Chill the formed cookies on the baking sheet for 10 minutes within the fridge earlier than baking as you preheat the oven. The cookies ought to unfold out properly into little spherical discs. Like double chocolate chip cookies, however crispier and flatter.
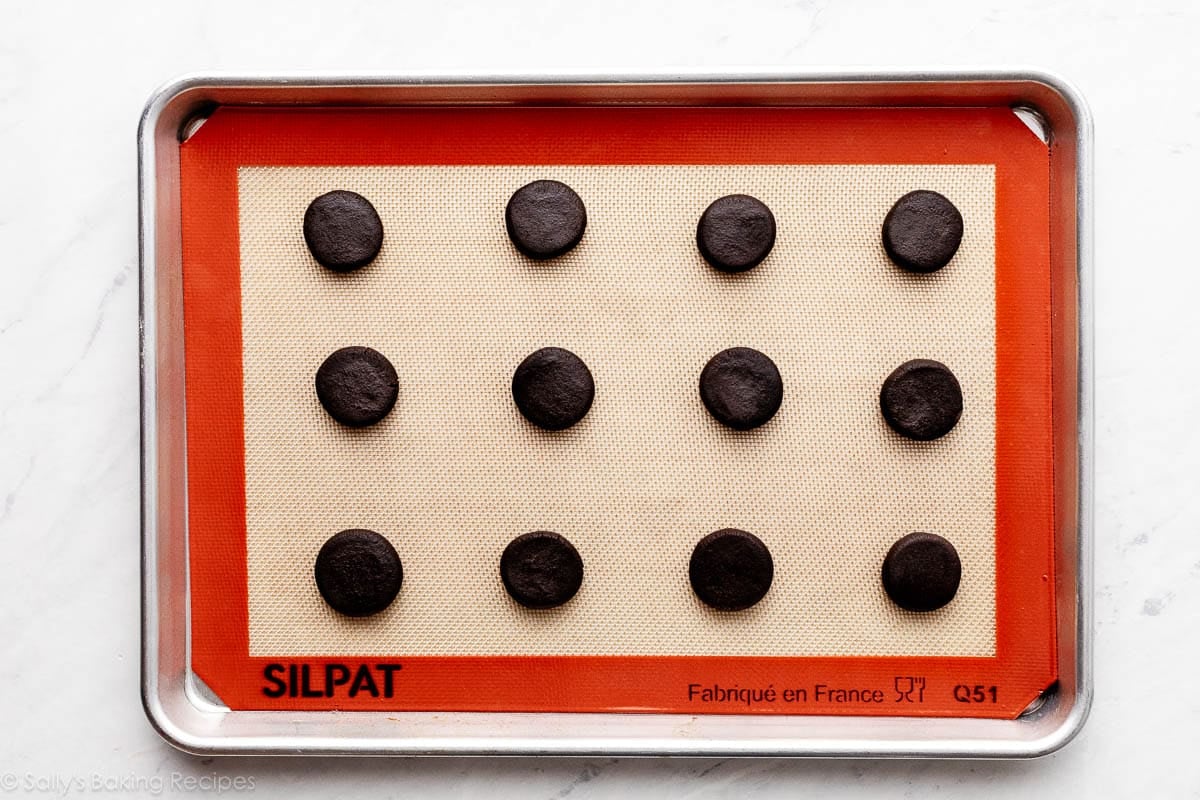
Earlier than baking:
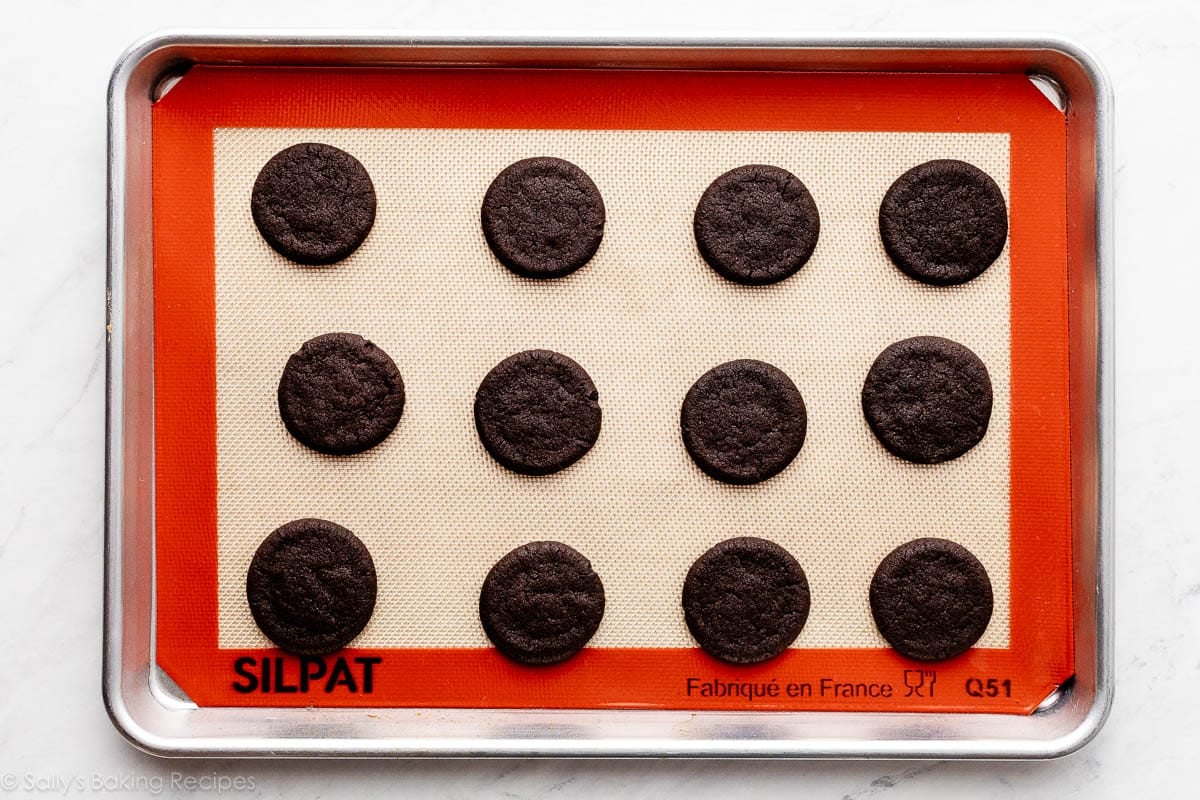
After baking:
Use Dutch-Course of Cocoa Powder
In case you’ve by no means paid a lot consideration to the label on the cocoa powder you employ for baking, right here’s a super-quick overview:
- Dutch-process cocoa powder is constructed from cocoa beans which have been alkalized. Alkalizing cocoa neutralizes its acidity, making it darker in colour and extra mellow in taste. Oreo cookies are made with Dutched cocoa, which is why they’re so darkish!
- Pure cocoa is simply that—pure powder from roasted cocoa beans. It’s acidic and bitter, with a really robust and concentrated chocolate taste. Pure cocoa powder (acid) is commonly utilized in recipes calling for baking soda (base) as a result of the 2 react with one another to permit your baked good to rise. In case you stay within the U.S., the cocoa powder you typically see within the baking aisle is pure. And actually, nearly all of my baking recipes with cocoa powder name for the pure variety.
(If you wish to be taught extra, see this publish on Dutch-Course of vs. Pure Cocoa Powder.)
At the moment’s cookies, whereas made with baking soda (base), additionally comprise just a little brown sugar (acid) to assist the cookies barely rise after which fall as they cool. In case you made these with pure cocoa (acid), the cookies would rise extra, making them just a little too puffy. You’ll additionally lose a number of the taste, and the cookies can be lighter in colour.
You might additionally use one thing known as black cocoa, which I’ve discovered through the years, is heavily-Dutched/extra-alkalized cocoa. I actually like this model, and I buy proper there on Amazon.
Now, the Thick Filling:
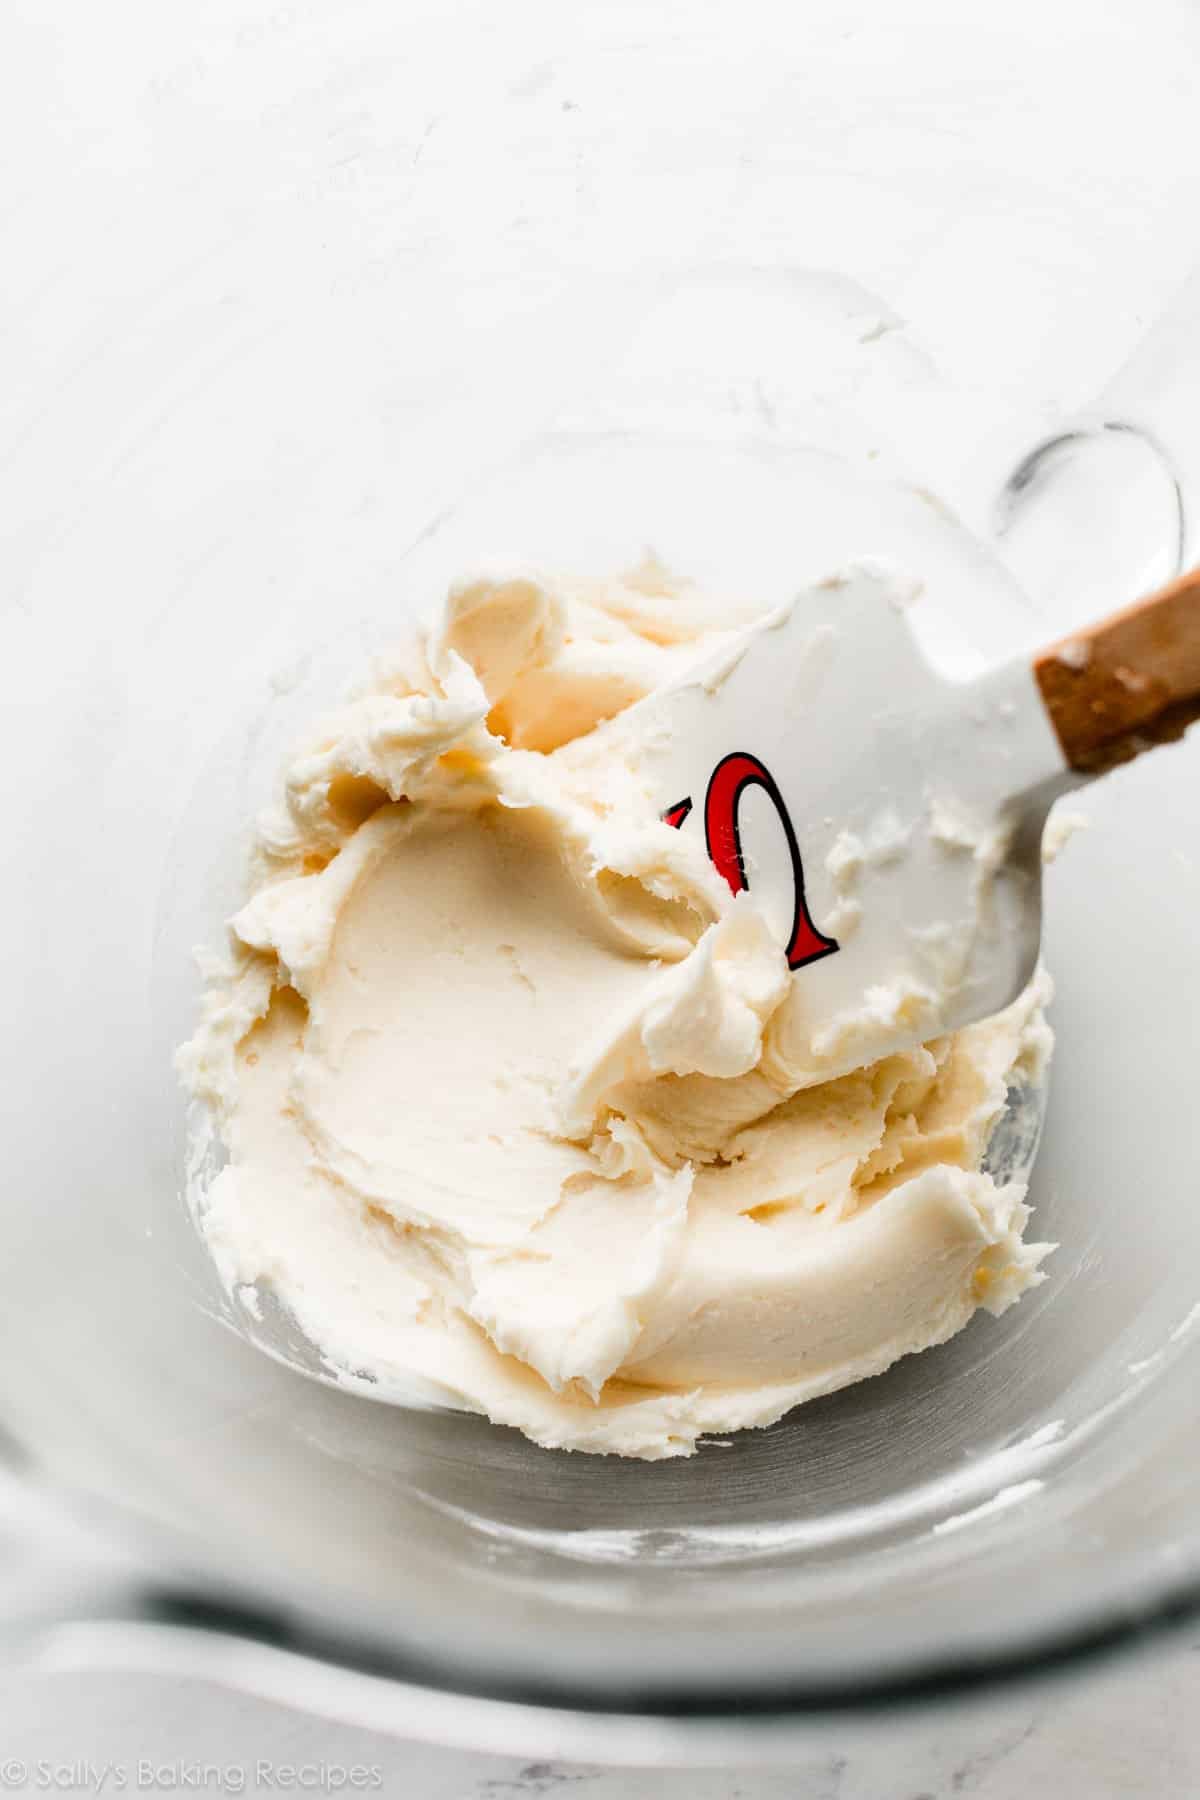
Whereas the cookies are cooling, make the filling. Do you know that Oreo creme filling is spelled that method as a result of there’s no dairy within the filling, to allow them to’t name it “cream”? However on this do-it-yourself model, we’re utilizing a mixture of butter and shortening. Which I believe makes this filling, properly, the crème de la crème of creme fillings!
Why shortening? Utilizing half butter and half shortening within the filling creates a flavorful cream that’s sturdy, thick, and never overly wealthy. It’s extra akin to the store-bought filling. In case you choose to skip the shortening, use all butter. The filling received’t style as just like the packaged variety.
I take advantage of a spherical piping tip to pipe the filling. You might additionally simply unfold it on with a knife or icing spatula.
Completely. To make these do-it-yourself Oreos “Double-Stuf” type, merely double the filling and pipe/unfold additional on the cookies. Remember the fact that the extra filling you employ, the extra it is going to squish out the perimeters while you take that first chunk.
No. Don’t use these do-it-yourself Oreos in recipes that decision for Oreo cookies, corresponding to an Oreo cookie crust. These are only for consuming and never repurposing into one other baking recipe.
Sure! Add in 1/4 teaspoon of your favourite taste extract, and/or add a pair drops of gel meals coloring if you want. Peppermint extract + inexperienced meals coloring = mint Oreos!
P.S. Do you want Nutter Butters? Strive my peanut butter cookie sandwiches subsequent, for one more do-it-yourself model of a well-recognized packaged cookie.

Do-it-yourself Oreos
Prep Time: 35 minutes
Prepare dinner Time: 9 minutes
Whole Time: 2 hours (contains cooling)
Yield: 20-21 sandwich cookies
Class: Cookies
Methodology: Baking
Delicacies: American
Description
Initially printed on my web site in 2013, my do-it-yourself model of store-bought Oreo cookies characteristic two darkish cocoa cookies with a candy cream filling. With solely 10 minutes of dough-chilling time and no rolling pin required, making a batch of those iconic sandwich cookies from scratch is faster and simpler than you suppose!
Directions
- Make the cookies: Whisk the flour, cocoa powder, baking soda, and salt collectively in a big bowl. Put aside.
- Utilizing a handheld or stand mixer fitted with a paddle attachment, beat the butter, granulated sugar, and brown sugar on medium-high velocity till mixed and creamed, about 3 minutes. Scrape down the perimeters and the underside of the bowl as wanted. Beat within the egg and vanilla extract. Pour the dry components into the moist components and beat on low velocity till a thick dough types.
- Line massive baking sheets with parchment paper or silicone baking mats. Roll the dough into small balls, 2 teaspoons or 13–15g of dough every. Place the cookie dough balls on the lined baking sheets, and be at liberty to squeeze as many as you may onto one (because you’re refrigerating these and should not have area in your fridge for a number of baking sheets). Utilizing the flat backside of a measuring cup or consuming cup, flatten the balls into discs which might be about 1.5 inches in diameter (doesn’t must be precise). Place the baking sheet(s) within the fridge for simply 10 minutes to assist set the cookies’ form.
- In the meantime, preheat oven to 350°F (177°C).
- House the chilly flattened cookies out to be 3 inches aside on the baking sheets. There might be a pair batches of those cookies, so hold the formed cookies within the fridge whereas the primary batches bake. Bake for 8–10 minutes, or till the perimeters seem set and the tops are barely cracking. Take away from the oven and permit to chill for not less than 5 minutes on the baking sheets earlier than transferring to a wire rack to chill fully.
- Whereas the cookies are cooling, make the filling: In a small bowl utilizing a handheld or stand mixer with a paddle attachment, beat the butter and shortening collectively on excessive velocity till completely mixed and creamy, about 2 minutes. Add the confectioners’ sugar and vanilla. Beat on low velocity for 1 minute after which swap to excessive and beat for 1–2 extra minutes till creamy and mixed. The filling may be very thick.
- Unfold or pipe the cream filling on the underside sides of half of the cookies. I often use Wilton piping tip #12. Sandwich the remaining unfrosted cookies on prime of the cream filling, urgent down gently.
- Cookies keep recent lined at room temperature for as much as 1 week.
Notes
- Make Forward & Freezing Directions: Cream filling may be made forward as much as 2–3 days forward of time. Cowl and refrigerate, after which carry to room temperature earlier than utilizing on the cookies. Stuffed cookie sandwiches freeze properly for as much as 3 months. Thaw in a single day within the fridge and convey to room temperature, if desired, earlier than serving. I don’t suggest freezing the cookie dough, as a result of even after thawing, the cookies received’t flatten out very a lot.
- Particular Instruments (affiliate hyperlinks): Glass Mixing Bowl | Whisk | Electrical Mixer (Handheld or Stand) | Baking Sheets | Silicone Baking Mats or Parchment Paper | Cooling Rack | Piping Bag (Reusable or Disposable) and Wilton Piping Tip #12 (if piping filling)
- Dutch-Course of Cocoa vs. Pure Cocoa: For the darkest colour and greatest cocoa taste, use Dutch-process cocoa powder. In case you make these with pure cocoa, the cookies will rise extra, so they are going to be puffier. Additionally, you will lose a number of the taste, and the cookies might be lighter in colour. For greatest outcomes that look and style extra like Oreo cookies, I like to recommend Dutch-process cocoa. I often use Ghirardelli model, this from NuNaturals, this from Rodelle, or this Dutched/black cocoa mix from King Arthur Baking. You might additionally plain black cocoa, which is closely Dutched/extra-alkalized cocoa. I actually like this model.
- Shortening: Utilizing half butter and half shortening within the filling creates a flavorful cream that’s sturdy, thick, and never overly wealthy. It’s extra akin to the store-bought filling. In case you choose to skip the shortening, change with butter (use 113g/8 Tbsp of butter complete). The filling received’t style as just like the packaged variety.
- Mint Cream Filling: Once you add the vanilla extract to the cream filling, additionally add 1/4 teaspoon peppermint extract and a pair of drops of liquid or gel inexperienced meals coloring.
- Make sure you try my prime 5 cookie baking suggestions AND these are my 10 must-have cookie baking instruments.
[ad_2]